
How to fix the back heel of a shoe
Table of Contents
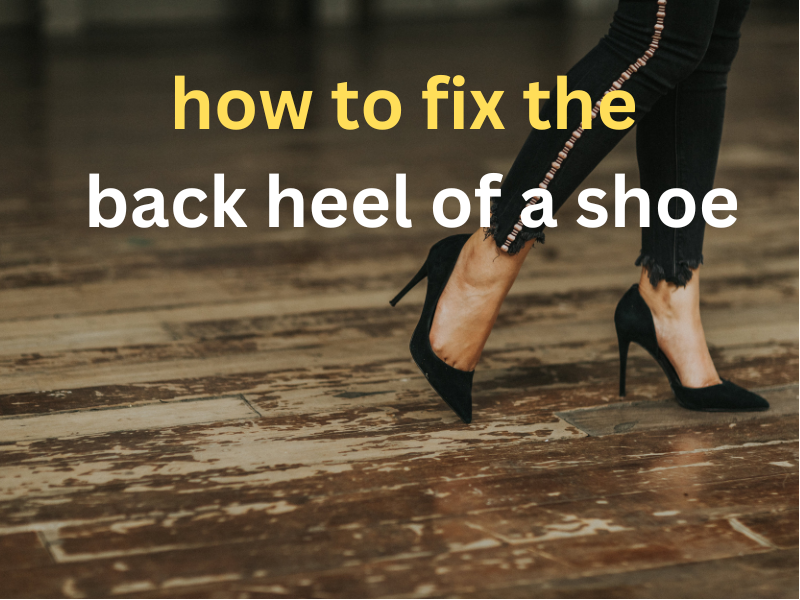
Any woman who adores shoes knows the heartbreak of a torn high heel. She must want to search for how to fix the back heel of a shoe that is comfortable and fashionable, you do not want to dispose of them too soon.
Your ideal footwear won’t have perfectly vertical heels, but they should provide enough support that you won’t feel like you’re walking on ice. We feel your anguish and are more than happy to impart our knowledge to you so that you may mend your own damaged high heel.
how to fix the back heel of a shoe?
If your high heels are broken, try this easy and cheap remedy. To fix a broken shoe heel, you need only a candle, some sandpaper or an emery board, liquid nail paint remover (nail polish remover), cooking oil/vegetable oil, an old toothbrush, and the heel of your shoe.
Step One:
Put on some oven mitts first, because things could get nasty. Prepare a bubbling mess by heating the front edge of one heel with the candle flame until the plastic begins to melt and peel off. If you don’t have a candle small pieces of sandpaper can be used to create the same effect. If you don’t want black markings on your shoes when they cool down.
Step Two:
Once the plastic from your heel’s melting edge has set, you may simply remove it by scrubbing it with an old toothbrush and some cooking oil or vegetable oil. Any dried glue residue on this area will melt thanks to the heat, so any black stains should fade away as well.
“For extra credit, wiggle your toes under the notches (or “stitches”) that indicate where they should go.”
Step Three:
Now take a look inside- is there anything still sticking out? If that’s the case, get out the sandpaper and keep scraping until nothing is left. Finally, use a clean cloth or paper towel to remove any remaining metal dust and grease from your heel.
The most crucial step now is to apply the adhesive or glue to the shoe and the heel. After applying glue wait for it to cure for 5-10 minutes and then carefully push the two pieces together. If you do it right, you can keep them tied up with rubber bands or strings for a day to take on the shape of new shoes.
how to fix the back heel of a shoe that Is Split Down the Middle?
Step One:
Have a look at the heel to determine whether or not you want to attempt to mend it. Proceed to step two only if you are comfortable with the idea of chopping up some leather.
If there are any metal parts that are jutting out it should be removed using sandpaper as much as the heal remains in a useable condition. Be sure that the inside of the shoe has had all of the glue scraped out so that there is no remnant of the adhesive left on either portion before moving on to the next stage. This will ensure that everything stays in the correct position once the shoe got fixed. Apply glue properly before moving to the next step.
Second Step:
Brush any excess dust particles off both parts of the broken high heel (heels) using a dry cloth or paper towel – be careful because doing this may loosen the glue that has already been applied.
Third Step:
Using a toothpick or another object of a similar shape, spread a little amount of glue around the edge, inner, and outside regions of each end of the heel (heels). Make sure you get all three areas before moving on to the next phase this will prevent them from breaking in the future.
Fourth Step:
Place both pieces back together carefully and without forcing anything; if you are unable to put it back together because a part is missing, skip one shoe and continue looking for another piece that has the same size and shape as the missing one until you find it.
For the majority of applications, surrounding any newly joined edges with an extra layer or two should be sufficient; however, additional layers may potentially be required depending on how much was removed during original repairs. Put both of the parts back together carefully. In the event that the preceding methods are unsuccessful, you always have the option of purchasing heels that match both of your shoes and then putting them on in the manner that we have demonstrated above. This will frequently save you a significant amount of time.
How to Take Care of Your Expensive Heels?
High-heel shoe protection comes in many forms. Using a shoe tree is an excellent option because it prevents the shoes from losing their form and smells. You can prevent foot pain and numbness by using heel guards, which act as mini-cushions and keep the sole from rubbing against the ground, and shoe inserts, which disperse pressure across the foot.
Finally, instead of just dumping your heels back into an open closet where dust might accumulate, you should always store them with tights or socks inside.
Frequently Asked Questions:
Is it better to mend the shoe or toss it out?
It is preferable to repair a damaged pair of high heels rather than replace them. The cobbler can fix the damaged area of your shoes and then you can resell them for a higher price.
However, if your heels fracture frequently despite repairs or replacements, it may be more cost-effective to simply replace the shoes rather than keep mending them.
The only time that repairs might not work is if the damage is extremely severe and was caused by misuse or negligence (for example, chopping off toes). This also depends on the capability and expertise of the person who is going to repair the shoe and the kind of material that is used to replace the material that was cut off.
In most cases, however, repairs will hold up until new heels are required if your high heel is broken and the crack is not too severe or does not spread to the opposite side of the shoe where there is no more heel left.
Would it be more expensive for you, in the long run, to buy a new pair of heels instead of wearing the ones you already have?
The benefit of buying a new pair is that the heel won’t break or bend and the shoes will look better overall. If the cost of new heels is larger than the sum you would spend on repairs over time you may find that your other shoes deteriorate in appearance as you wear them more often to avoid soiling your expensive heels.
If this occurs, you may have to replace all of your footwear, which might add expensive if you want everything to match (which some people do). When making a decision on whether to fix worn heels or replace them, this line of thinking presumes the economy has been stable.
Would You Rather Spend More Money on a New Pair of High Heels Than Try This Homemade Fix?
In point of fact, it is not a good idea in my opinion to spend a lot of money on a solution that has a chance of failing to function. Anyhow, due to a lack of expertise or experience if you only make a few little tweaks to the shoe. If your high heels do shatter and are wrecked by this easy DIY hack, there are lots of other shoes available right now that are suitable for practically any occasion.
When something breaks down as it usually does the best solution is discovering what works for you at a price point that won’t make you feel guilty about buying new heels. Mending worn heels instead of buying new ones delays spending until a better opportunity arises.
Conclusion
Today we learned how to fix the back heel of a shoe, and having the right tools on hand is key. Leave comments or questions regarding today’s blog post below!

5 Best Ways to Clean Loeffler Randall Shoes

10 Best Methods: How to clean mold off leather shoes
